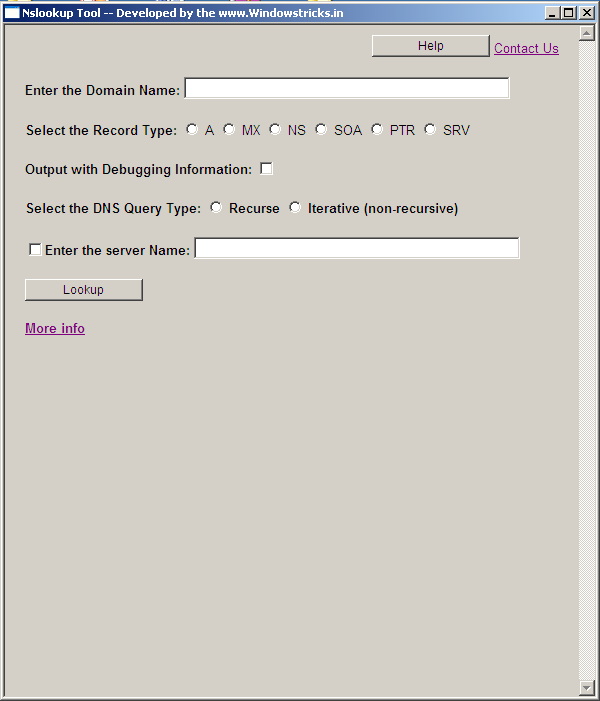
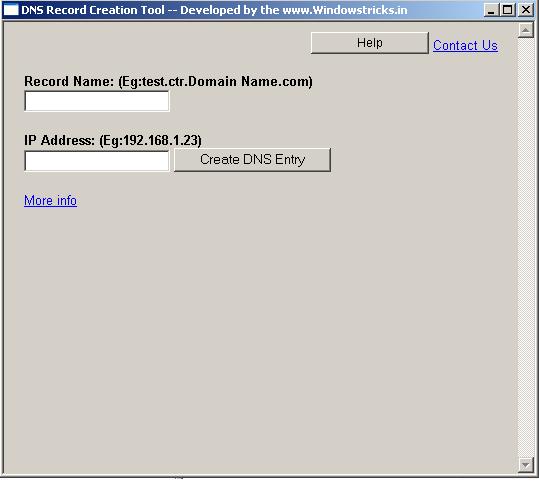
Using DNS Management tool you can check, create and delete DNS entry in Windows DNS server, it seems to be simple however in a large environment it’s not that simple, let’s say if you have multiple zones and every zone have huge DNS entry’s then it’s very difficult to check, create and delete the DNS entry
When you open the DNS console all the zones in that server will get loaded and you have to select the zone than all the entry’s in that zone will get loaded, it will be time consuming process then you have to filtered out to delete the corresponding entry
1. Enter Record Name
2. Record name should be FQDN(fully qualified name) like Server001.eur.windowstricks.in
3. Enter IP Address
4. If require you can copy and past the host name and IP address
5. If you want to create DNS record then Click Create button
6. This will create the DNS entry to the corresponding zone in the DNS server
7. You will get the result, if any issue to creating the record, then you will get the error message
8. If you want to check DNS record then Click check button
9. You can also Delete the DNS entry by clicking the Delete button


